How to setup a barcode for a customer card
Customer can have his/her account linked to a customer card which can be scanned or swiped, when doing a customer transaction in POS. Customer card is created in the Customer Card Dialog
Example:
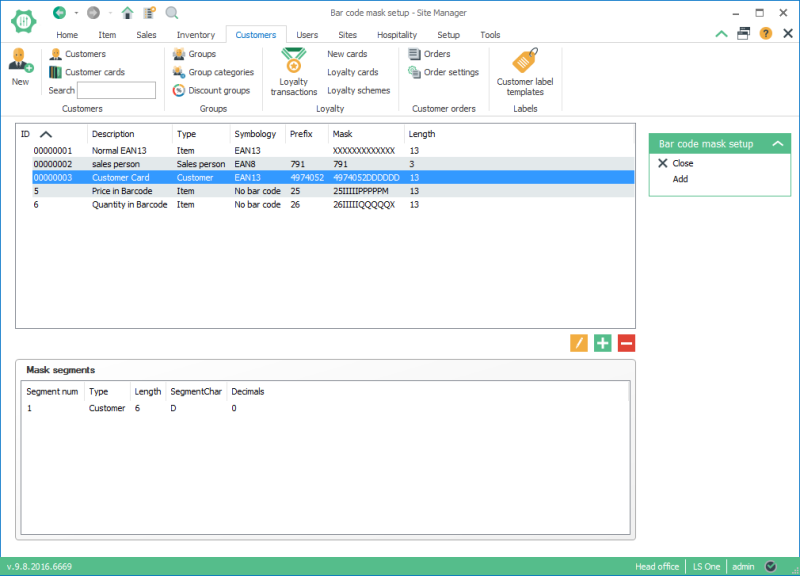
Customer cards numbers are 13 characters and all start with the numbers 4974052. To set them up as barcodes do the following:
- Go to Bar code Mask Setup View
- Add a new barcode mask by clicking the Add button
- New bar code setup dialog is displayed
- Enter Customer card as description
- Select Customer as type of mask
- Select EAN13 as symbology
- Enter 4974052 as the mask
- Prefix gets automatically the same value as the mask
- In the lower view click the Add button to add a barcode mask segment
- Enter 1 as segment number
- Select Customer as type
- Set segmentChar as D
- Enter 6 as length
- Click the OK button to save the mask segment
- Click the OK button to save and close the barcode mask dialog
- Open the Barcode setup view
- Click the Add button to add a new barcode setup for customer card
- Enter a description e.g. Customer card
- A barcode setup view opens up
- Select EAN13 as barcode type
- Select Customer card as mask
- Close the view
Link a customer to a card
-
Open the Customer Card Dialog
- Click the Add button to create a new customer card
- Enter card number as 4974052830006
- Select a customer
- Click the OK button
You have now setup a customer card for a customer and are able to swipe the card or enter manually the card number into POS. The customer information will be displayed in the customer panel.

If a customer ID from the barcode mask cannot be found the customer barcode functionality will check if any customer card configured for a customer has the full barcode number as a card number

